
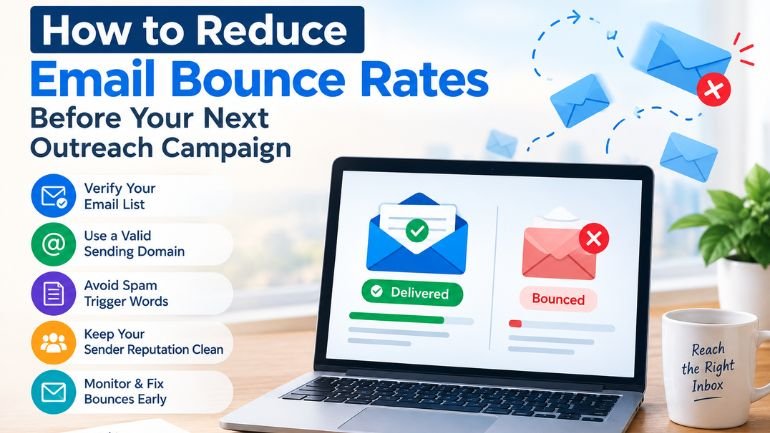
A high bounce rate could seriously ruin a cold outreach campaign long before any response is received. Continuous delivery issues might indicate poor quality of mailing lists used and influence the sender’s reputation negatively.
The key point is not just sending but delivering emails successfully to the recipients. Pre-campaign email verification is a good option that helps to remove problematic addresses from the list and give the sales team an effective start to their campaign.
Hard Bounces vs. Soft Bounces: What Is the Difference?
Not every failed delivery means the same thing. Understanding the difference helps determine when to remove an address and when to retry delivery.
| Bounce Type | Common Cause | Recommended Action |
| Hard bounce | Invalid, deleted, or non-existent address | Remove from the list |
| Soft bounce | Full inbox, temporary server issue, or message-size problem | Retry and monitor |
| Policy-related failure | Recipient server blocks or rejects the message | Review sending practices |
A hard bounce requires taking action quickly, as further attempts to send a message to an invalid address are unnecessary and create avoidable delivery failures. Soft bounces may resolve later, but repeated failures still deserve investigation.
The Hidden Costs of High Bounce Rates
Bounce rates affect more than individual messages. A pattern of failed deliveries can indicate weak list hygiene and may contribute to reputation problems with receiving mailbox providers.
The impact can include:
- Lower inbox placement: More messages may face filtering or rejection.
- Damaged sender reputation: Poor engagement and delivery signals can make future campaigns harder to place.
- Wasted outreach capacity: Sales teams spend sends on addresses that cannot generate a response.
- Poorer campaign data: High number of invalid addresses will complicate the interpretation of campaign data.
While having a low bounce rate does not guarantee inbox placement, it is one of the factors in building a healthy sending program.
4 Pre-Campaign Steps to Keep Bounce Rates Below 2%
- Authenticate Domain Records (SPF, DKIM, DMARC)
Set up the necessary email authentication settings prior to the start of any campaigns.
- SPF (Sender Policy Framework) allows recognizing legitimate senders of emails.
- DKIM (DomainKeys Identified Mail) is used for adding an extra layer of encryption to the messages.
- DMARC (Domain-based Message Authentication, Reporting, and Conformance) is the technology built on SPF/DKIM and indicates the actions the receiving servers should take in case of failing authentication.
Domain authentication doesn’t substitute list cleaning, but it lays the technological groundwork for legitimate outreach.
- Implement Proper Email Verification
Never upload an unverified list to any outreach platform. The automated process of email verification will prevent sending any emails to invalid, temporary, role-based, or risky addresses before they enter the sending queue.
For larger databases, validation should happen before every major campaign rather than only once. Contact information changes over time, so an address that worked several months ago may no longer be valid.
- Warm Up Your Email Infrastructure
New sending accounts should not immediately handle large campaign volumes. Start with controlled sending and increase volume gradually while monitoring delivery, engagement, and bounce signals.
Warm-up should also form part of a broader infrastructure plan that includes sensible sending limits, consistent authentication, and relevant targeting.
- Segment and Suppress Risky Contacts
Separate older, unverified, inactive, or previously bounced contacts from your active campaign list. Suppression lists should remain in place so known bad addresses do not re-enter future campaigns.
Benchmark Email Metrics for Cold Outreach
No single benchmark applies to every industry or mailbox provider, but these practical targets can help teams spot problems early:
| Metric | Practical Target | Warning Signal | Action |
| Bounce rate | Below 2% | Above 3% | Pause and review list quality |
| Open rate | Monitor against campaign history | Sharp decline | Check targeting and placement |
| Spam complaints | Keep very low | Rising trend | Review relevance and frequency |
| Positive replies | Track by segment | Declining trend | Refine audience and messaging |
Treat these figures as monitoring guidelines rather than universal rules. Your own historical campaign data provides valuable context.
Final Pre-Flight Checklist
Before launching a cold outreach campaign, confirm that:
- SPF, DKIM, and DMARC are configured correctly.
- Contact lists have been cleaned and validated.
- Previously bounced addresses remain suppressed.
- New sending accounts use gradual volume increases.
- Campaigns target relevant recipients with appropriate messaging.
- Bounce, complaint, and engagement signals are monitored after launch.
Effective deliverability begins before the first email is sent. Through a combination of proper authentication, good list management, and careful monitoring, a solid foundation for future successful campaigns can be established.
Be the first to comment on "How to Reduce Email Bounce Rates Before Your Next Outreach Campaign"